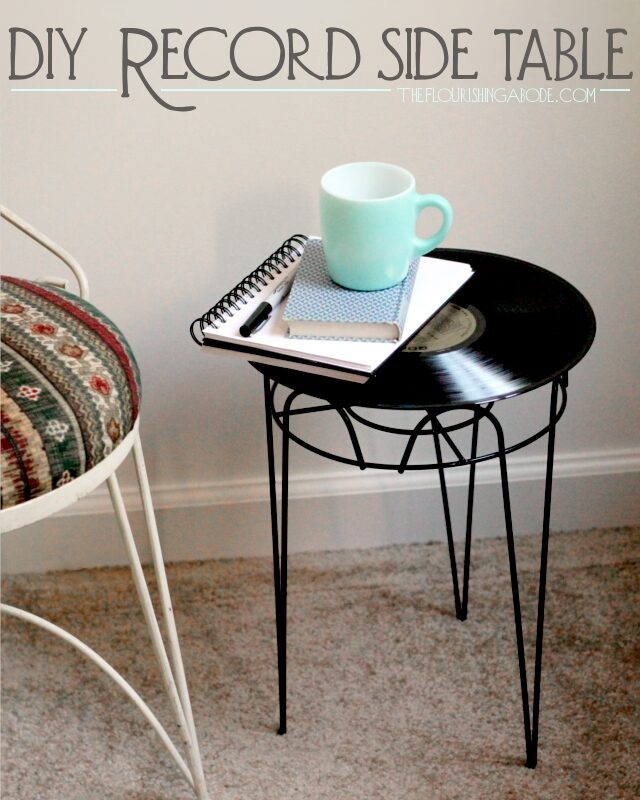

Onward with the weekly hack challenge – where each week I have to hack an item and upcycle it into something completely new, typically decor related. I’m so tickled with how last week’s project of the DIY solar paper lamps went, and I’m also excited about this week’s project: an upcycled DIY record side table!
I’ll be honest – I had a completely different idea for this week originally, but I was having trouble at the hardware store finding screws with the right threading, the right head and the right length that I needed for that other project .. I must admit, I never thought I’d have such specific requests out of a screw, but it was what I needed. The guy at the hardware store was baffled by my request. Soooo, long story short, I’ll need to take a different approach with that project, and I put it off for a different week. And instead I came up with and idea that is MUCH simpler … ridiculously easy, in fact. Which I’m guessing would be preferable to me sending you on a project that calls for you to baffle the hardware store with your request for a certain kind of screw! So here we go with the simple (but still kinda spiffy, in my opinion, anyway) project for this week…
For this project you will need:
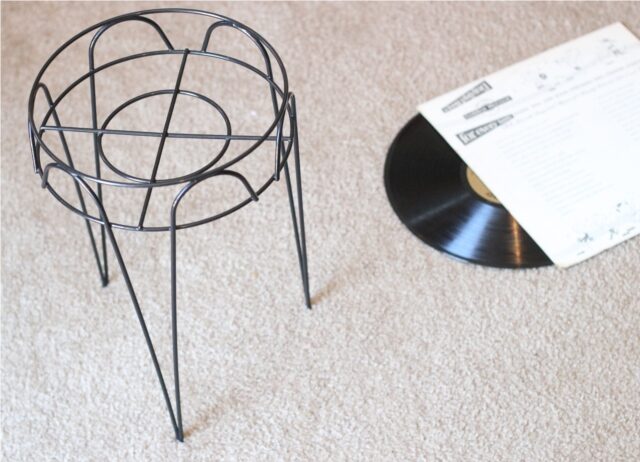
‣ ‣ ‣ a vinyl lp record. Make sure it is one that you don’t mind “destroying”, for all listening purposes, anyway. You can often pick up some old records at thrift stores for about a dollar.
‣ ‣ ‣ a planter stand. Preferably in black, to match the record. Also, make sure it in not wider at the top than your record’s width. For instance, for a 12 inch record, I used a planter stand that was 10 inches wide at the top.
‣ ‣ ‣ a glue gun.
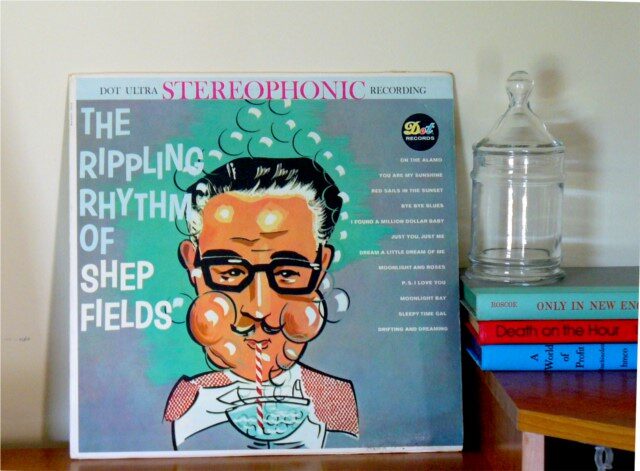
You’ll only need the record, not the cover. But if it has interesting cover art, you don’t have to toss it! I think vintage albums make an interesting decor feature! Like this:
But back to the table! Instructions:
1. Wipe down the record with a damp paper towel – chances are if it’s vintage, there may be a good bit of dust trapped in the grooves. Clean both sides, then wipe gently with a dry cloth. Make sure it’s dry before attaching to the table.
2. Heat up your hot glue gun.
3. Once the hot glue gun is ready to use, apply an even line of hot glue all along the entire top edge of the planter, where the record will sit.
4. Promptly place the record on top of the planter while the glue is still hot. Be careful to place it so that it is centered – you don’t want to scoot it around to get it in the right position after it has come in contact with the glue.
(I tend to eyeball things, but if you’re not comfortable with eyeballing it, before you heat up your glue gun, subtract the width of the top of planter from the width of the record, then divide that in half, and the result will be the amount of overhang the record should have. (ie, 12 inch record – 10 inch planter = 2 inches. Divided in half makes it 1 inch of overhang all around.) On the underside of the record, measure that far in from the edge in a couple of spots, and mark at that point. Then, when placing the record on the planter, watch from underneath as you place it, and line up your markings so they land directly on the glue, and your record will be centered.)
5. Let the glue cool and harden – and you are done! Super easy.
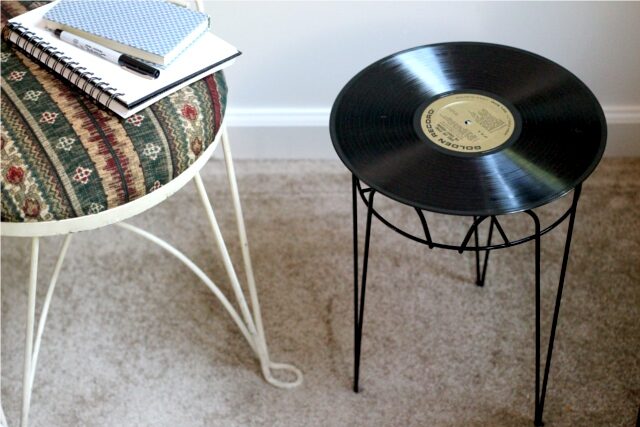
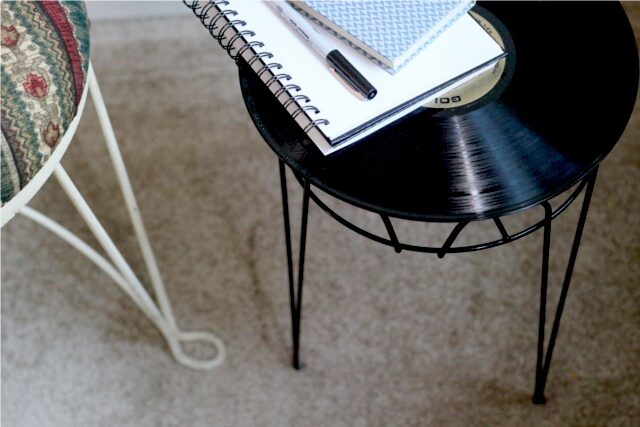
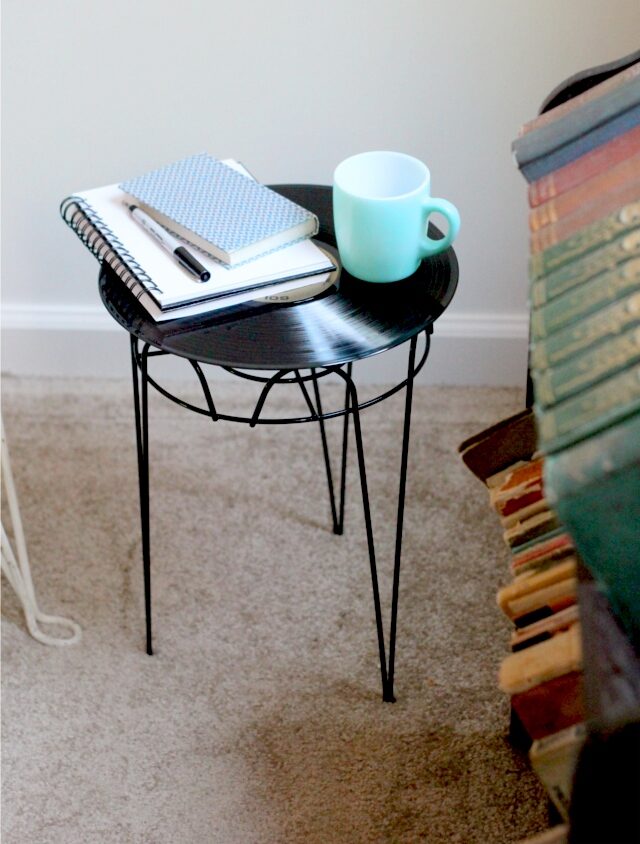
All that is left to be done is to find the perfect spot for your new little little piece of upcycled furniture to sit!
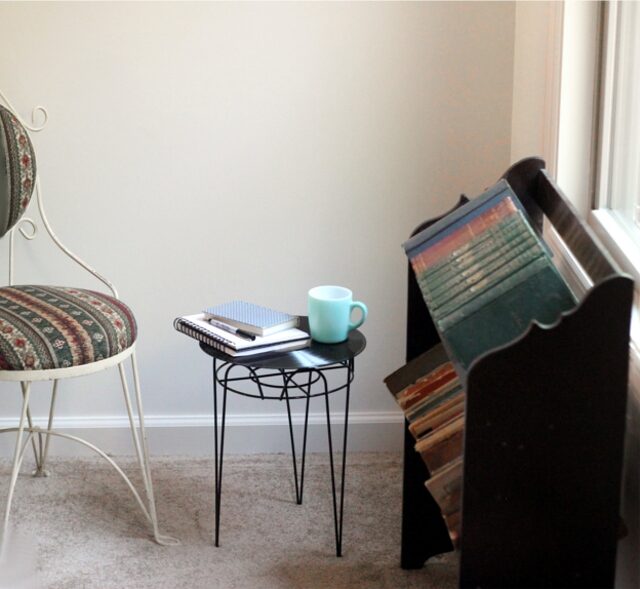
Hope you enjoyed this project idea! Records are great for projects, there are tons of things you can make with old records. Have you ever upcycled a record? And I’m curious – do you prefer easy projects like this, or more time intensive/elaborate projects?
Leave your thoughts and comments below, I love to hear from you!
