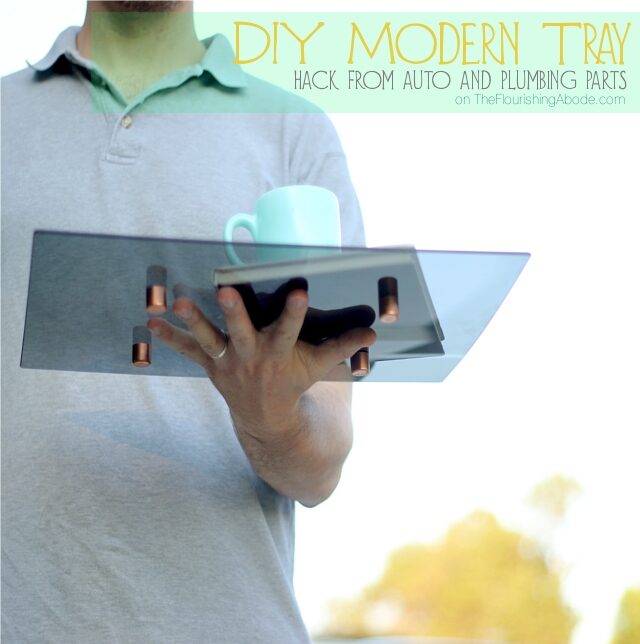
I never would have thought of today’s hack-a-week project without my husband, Tim. He currently works in the auto glass industry, and brought home this lovely piece of dark glass. It was his idea to turn it into a tray! Handles were posing somewhat of a problem, though, and so I suggested feet instead. And voilà, here is today’s project!
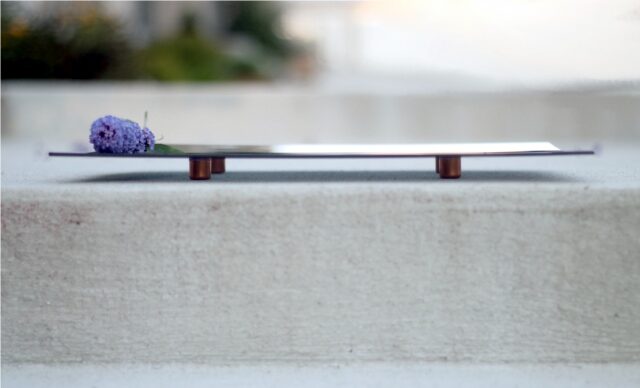
Now, you might be thinking, “Great, I don’t work at an auto glass place. How on earth am I supposed to get my hands on something like that?” Well, here’s the deal. Apparently on certain kinds of trucks with divided back glass, if they have to replace one of the pieces because it is damaged – they have to replace all the pieces of the back glass, regardless of whether the other ones are damaged. So from time to time, there is this extra piece of glass that they had to take out, and it’s just headed for the trash. Now, it’s going to be hit or miss because typically they’re only replacing broken glass, but if you call some auto glass places and ask about it, they just might have some you could use. Who knew, right?
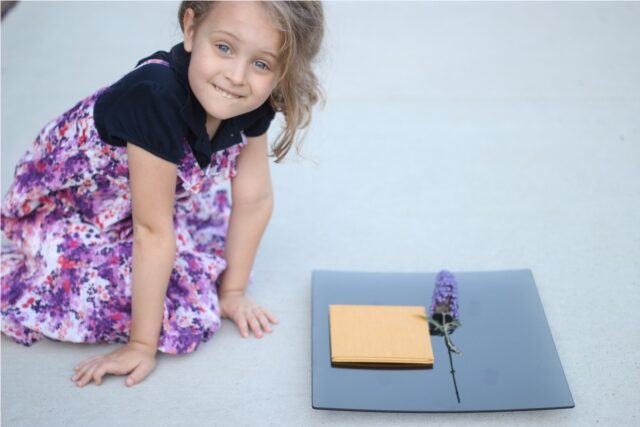
And if they do, well, you know what you can make with it: a diy tray!
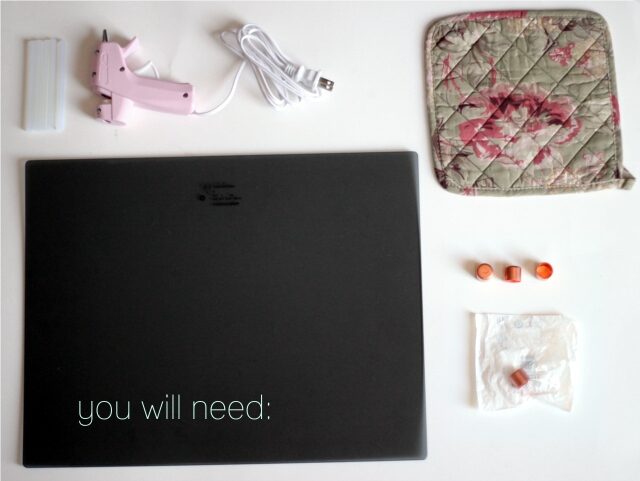
You will need…
– A piece of auto glass.
– 4 Copper “feet”. This is where the plumbing parts come in – if you go to your local hardware store and look in the plumbing pipes section, you can find copper pipe end caps. These cost me just 67 cents each! And I think the copper looks really sharp compared to the dark glass.
– A glue gun and glue.
– A hot pad.
Step 1: Clean the glass. There may still be some adhesive around the edge of the glass, from where it was held in place on the vehicle (which can be removed with a razor blade and/or some scrubbing) as well as fingerprints, smudges, etc. (which can be removed with glass cleaner).
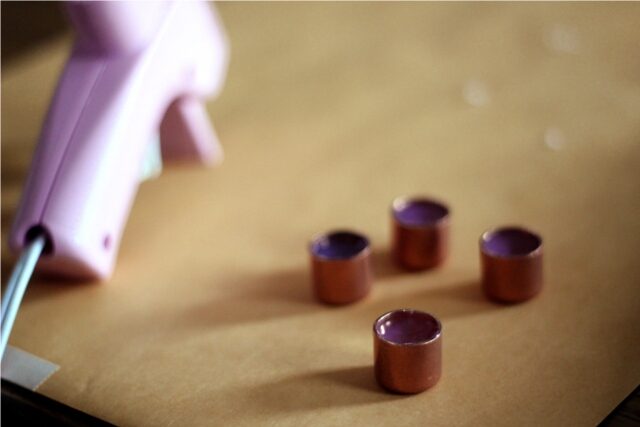
Step 2: Fill the copper feet mostly full with hot glue. Use the pot holder to hold a copper foot while you fill it – the copper will get VERY hot. Fill it almost to the top, but not quite. Repeat with all four copper caps, and then set aside to cool.

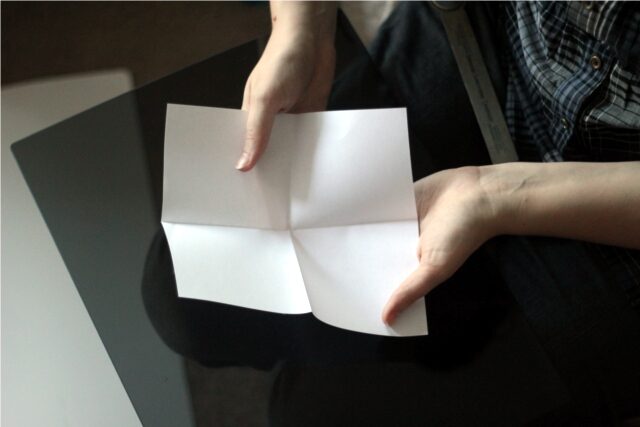
Step 3: Measure and mark where you want the feet to sit. The glass is slightly curved, so you probably don’t want the feet too close to the edge – and you also want to make sure you mark on the underside of the glass, so that the tray will be ever so slightly bowl shaped. Where ever you decide to place the feet, though, you want to make sure they’re equidistant on each side. Here is one easy way to do this, courtesy of Tim, and pictured below: take a square piece of paper, and fold it into quarters. Slide the corner of the glass into the folded paper so the the corner of the glass is snugly aligned in the folder corner of the paper. Use the glue gun to place a dot of glue where the edge corner of the paper reaches on the glass. Repeat on the other four corners – if your paper is a perfect square, it doesn’t matter what direction you slide the paper on the glass. If it is not a perfect square however, just flip the paper as you go to each corner so that each corner is properly mirrored.
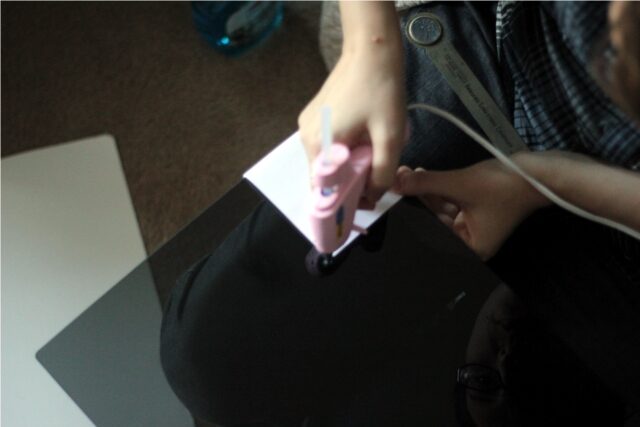
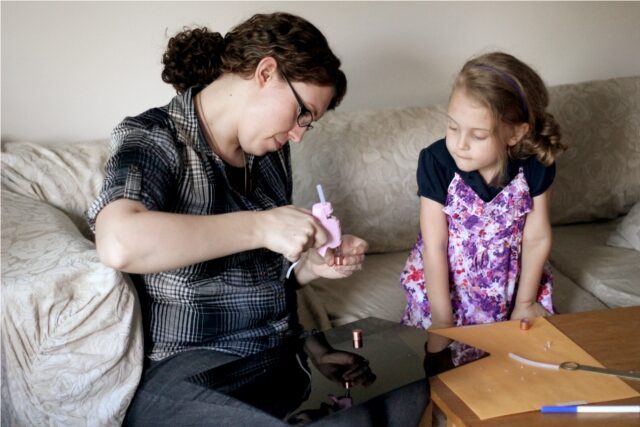
Step 4: Top off the glue for the feet, and place on glass at the markers. Once the glue in the copper feet has set and the copper is cool enough to handle, take one of the feet and fill to the brim with glue, plus a *tiny* bit extra. You need to make sure the glue is high enough to encounter and hold to the glass – but you don’t want to fill it over the top too much, or it will be hard to get the exact same amount in each foot, and your tray will be wobbly because the feet will be different heights. Once you have glue ready in one of the feet, place it centered on top of the dot of glue you marked earlier. Repeat with the other three feet.
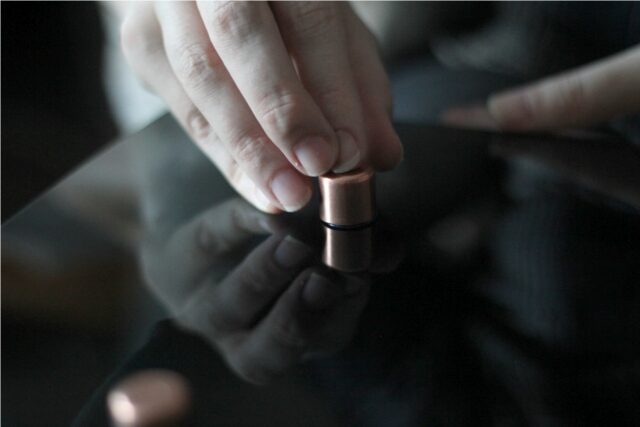
Step 5: You’re done! Just make sure the glue came in contact sufficiently with the glass, and that the glue has set (which happily happens oh-so quickly) – and your tray is ready to use! After handling it so much, you may want to give it a another swipe with glass cleaner. Then just find a place to display it!
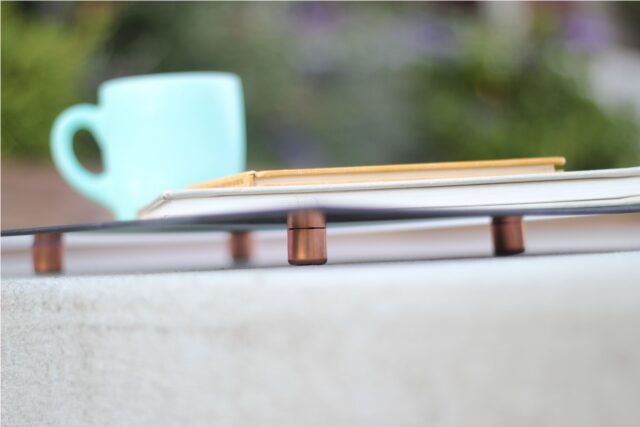
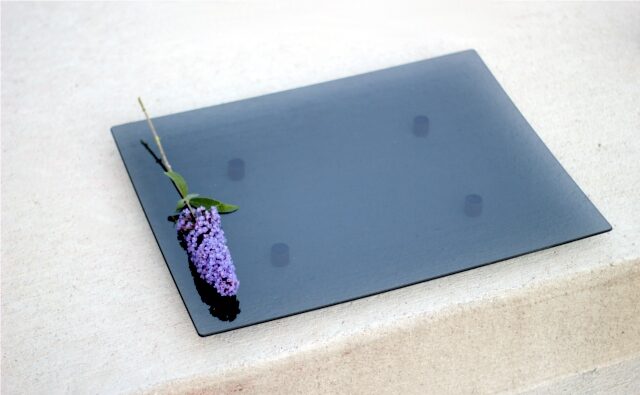

I really like how it turned out – thanks for the idea, Tim! 🙂
I have a couple other tray ideas I may post in the future. Plus, I should share photos of the gorgeous handmade wooden tray the Tim designed and made as a gift for me. Yeah, I love trays. 🙂
What would you turn into a tray?
Leave your thoughts and comments below, I love to hear from you!
